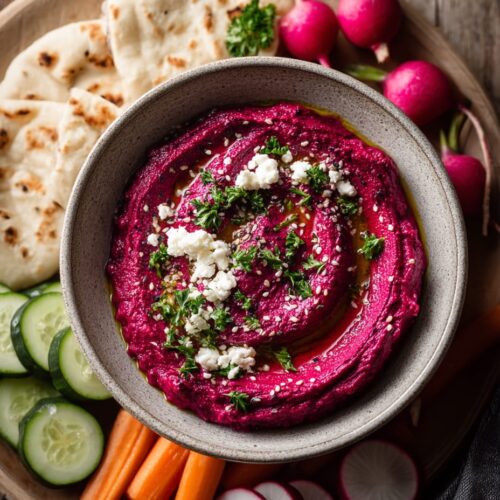
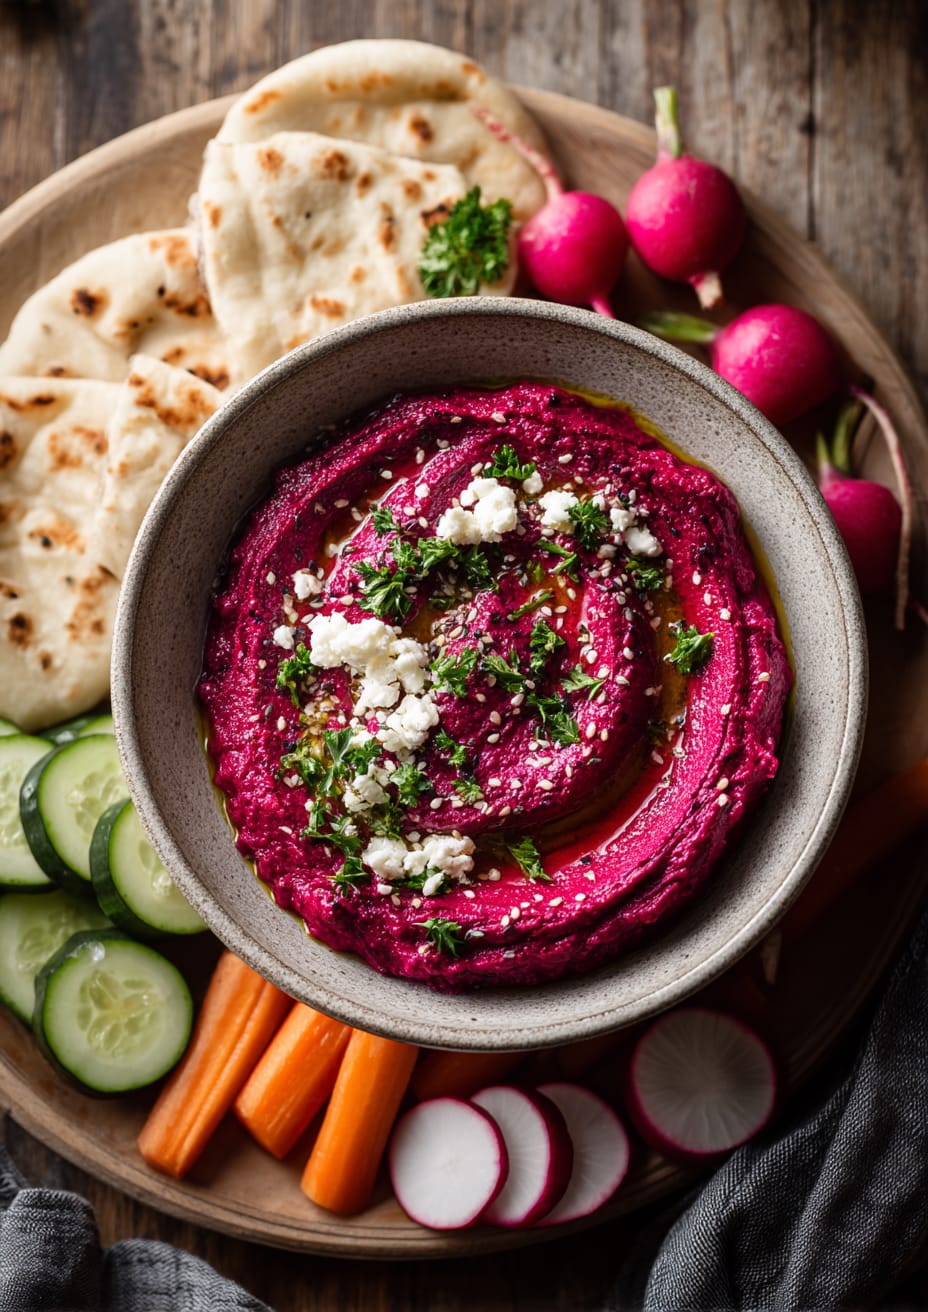
There’s something visually pleasing about beetroot hummus. The colour always impresses, that rich magenta-purple shade draws people in before they’ve even tasted it. But once you get past the looks, what really keeps you coming back is the flavour. Beetroot brings a natural sweetness and depth that plays beautifully against lemon’s brightness, the earthiness of tahini and the gentle sharpness of raw garlic.
I first started making this when I was looking for something that felt a bit lighter than traditional hummus but still had richness and body. This version ticks both boxes. It’s creamy, fresh, and packed with good-for-you ingredients, ideal for spreading, dipping or dolloping. I use it as a sandwich spread almost as much as a dip. It holds its own against strong flavours like feta, olives or grilled vegetables.
Why Beetroot Works So Well in Hummus
Roasted beetroot brings a subtle sweetness, almost like slow-cooked onions but earthier. It blends down to a smooth, rich paste when combined with tahini and chickpeas, I always use these tinned organic chickpeas. The balance of flavour is what makes it special: the lemon juice cuts through the richness, and the garlic gives it a sharp edge.
You can make this with vacuum-packed cooked beetroot, but I usually roast my own. The flavour is far deeper, and you avoid that vinegary note you sometimes get with pre-cooked beets. I roast them whole, skin-on, then peel and chop once they’re tender. It’s hardly any effort and the flavour payoff is huge.
My brand new Ninja Power Nutri Blender has made blending this kind of hummus also much easier. The beets blitz down smoothly in no time at all, which is something I struggled with using stick blenders or older food processors. It’s brilliant for achieving that creamy, velvety texture, no grit, no lumps, just a smooth, bold-flavoured dip.
Versatile and Meal-Prep Friendly
One of the best things about beetroot hummus is how versatile it is. I’ve served it as part of a mezze spread, used it as a base layer under roasted veg, and even dolloped it onto grain bowls. When I’m packing lunches ahead of a busy week, I’ll often spoon some into jars, add veggie sticks or pitta, and I’ve got a grab-and-go option that feels a bit more interesting than plain hummus.
It also holds up really well in the fridge. In fact, the flavours seem to improve after a day. If you batch cook at the weekend, this should absolutely be on your prep list. Pair it with things like Greek Lemon Herb Rice or Grilled Mediterranean Vegetables with Feta and you’ve got something colourful and full of flavour without needing loads of prep midweek.
Tips for Getting It Just Right
The texture is key. I like my beetroot hummus thick enough to scoop with a cracker, but soft enough to spread with the back of a spoon. The Ninja Power Nutri Blender lets me adjust that easily, a tablespoon or two of cold water is usually enough to get it just right.
Taste as you go. Depending on how sweet your beets are, you might want a bit more lemon juice or a touch of salt to balance things out. Sometimes I’ll add a tiny pinch of ground cumin or coriander to introduce a bit more complexity.
Toppings make a difference too. A swirl of olive oil, a sprinkle of sesame seeds, and a scattering of chopped herbs turn this into something worthy of a dinner party starter or mezze centrepiece.
Hosting with Colour
If you’re planning to serve this at a BBQ or garden party, it really comes into its own. The colour looks incredible next to charred meats or grilled cheese, especially something like my Maple-Mustard Halloumi Skewers or North African Harissa Halloumi Skewers. It’s the kind of side that people don’t expect but always ask for the recipe afterwards!
Serve it with home made pita breads, crackers, or torn chunks of sourdough. You could also use it to top crostini with a crumble of goat’s cheese or a few thin slices of radish for a simple canapé.
A Plant-Based Favourite
Beetroot hummus is naturally vegan and gluten-free, so it’s one of those dips that feels inclusive without trying. It’s packed with plant-based protein, fibre and iron, and because there’s no mayo or dairy, it’s safe to leave out for a while on the table.
It’s also a great way to get more veg into your day. I often make this after roasting a tray of beetroot for another dish. If you’ve got two or three spare, this is an ideal way to use them up.
Make-Ahead and Storage Tips
- Fridge: Keeps well for up to 4–5 days in an airtight container.
- Freezer: Freeze in portions for up to 3 months. Defrost in the fridge overnight and stir well before serving.
- Tip: If the hummus thickens after chilling, loosen it with a little water or lemon juice just before serving.
Should You Make This Beetroot Hummus?
If you haven’t made beetroot hummus before, it might just become your go-to when you want something a bit different — something with a bit more flair. It’s naturally gluten-free, vegan, and endlessly adaptable. I’ve added cumin, orange zest, even a bit of horseradish before for a spicy lift. But the classic version here is the one I come back to time and again.
Having the right blender, like my Ninja Power Nutri Blender, makes a huge difference in how smooth and spreadable the final texture is, especially with beets.

Beetroot Hummus with Lemon and Garlic
Ingredients
- 250 g Beetroot roasted or vacuum packed
- 400 g Chickpeas tin, drained and rinsed
- 2 tbsp Tahini
- 1 Lemon juiced
- 1 clove Garlic crushed
- 1 tbsp Olive oil extra virgin, plus more to serve
- Salt to taste
- Black pepper to taste
- 2 tbsp Water cold, to loosen
Optional toppings
- 1 tsp Sesame seeds
- 1 tbsp Fresh parsley chopped
- 1 tbsp Feta Cheese crumbled
Instructions
- Roughly chop the beetroot and place it in your Ninja Power Nutri Blender along with the chickpeas, tahini, garlic, lemon juice and olive oil. Blend until smooth, scraping down the sides as needed.
- Add 1 tablespoon of cold water at a time to loosen the texture to your liking. It should be creamy and smooth but still hold its shape on a spoon.
- Add salt and pepper, then adjust with more lemon juice if needed. I like mine a little tangy to contrast the earthy beetroot.
- Spoon into a shallow bowl or plate, swirl with the back of a spoon, drizzle with olive oil, and top with sesame seeds, feta or parsley if using.

