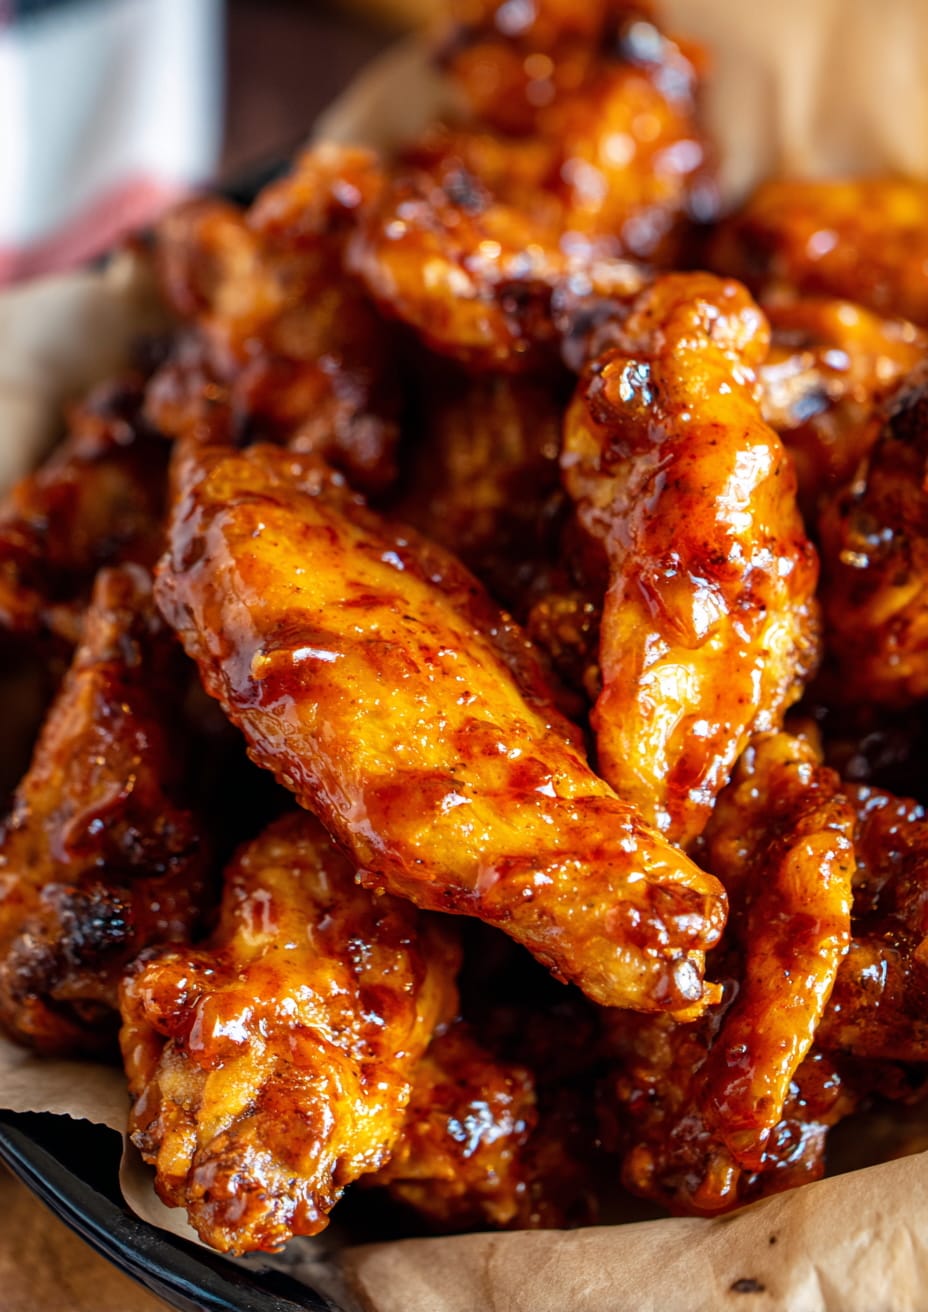
Baked wings make the stickiest honey BBQ finish
Baking honey BBQ chicken wings is one of my favourite methods because it gives you time to build layers of flavour. Unlike grilling or smoking, baking lets the glaze cling and caramelise slowly, turning glossy and sticky without burning. I’ve tested this on countless trays, and I’ve found that a few small tweaks make all the difference between wings that are just coated in sauce and wings that look lacquered with a sweet-savoury glaze.
I use these baking hacks often in recipes like my classic oven-baked honey BBQ wings, and they’re part of why I put together my honey roast chicken wing collection. Baking may take a little longer than frying, but it’s hands-off once you’ve set the tray in the oven, which makes it perfect for parties or lazy evenings.
The secret to sticky honey BBQ wings in the oven
The first trick is par-baking the wings plain before adding sauce. This lets the skin crisp slightly so the glaze adheres. After 25 minutes at 200°C, I brush the wings with sauce, then return them to the oven for another 10 minutes. Brushing again and giving them a final short bake caramelises the sugars, locking in the stickiness.
The second trick is using a thick, balanced sauce. My homemade honey BBQ sauce works beautifully because it reduces to a glossy finish. If you’re using bottled sauce, reduce it slightly in a saucepan before brushing, which makes it cling better to the wings.
Step-by-step method for sticky baked wings
Preheat your oven to 200°C (fan 180°C). Pat your wings dry and season lightly with salt and pepper. Arrange them on a foil-lined tray with a wire rack and bake for 25 minutes. Remove from the oven and brush generously with honey BBQ sauce. Return to the oven for 10 minutes.
After that, brush again with more sauce and bake for a final 8–10 minutes until sticky and glossy. Let the wings rest for 5 minutes before serving so the glaze sets. These are especially good when paired with my sweet vs. spicy sauce variations, depending on the mood of the night.
Tips for success when baking sticky wings
Don’t overload the tray, wings need space for air to circulate. Always use a wire rack so the sauce doesn’t pool underneath. Brushing the glaze in layers is key; if you dump it all on at once, it won’t caramelise properly. For extra gloss, warm your sauce slightly before brushing so it spreads evenly.
If you want both crispness and stickiness, combine this with the fridge-drying method I explained in my crispy wings without frying guide.
Storage and reheating sticky baked wings
Sticky wings keep well in the fridge for up to three days. To reheat, bake at 180°C for 10 minutes, brushing with a little fresh sauce if needed. The microwave will warm them, but the glaze softens too much, so I always recommend the oven. These wings can also be frozen, but reheat directly from frozen in the oven to preserve texture.
Ingredient notes and alternatives
If you want less sweetness, mix half honey BBQ sauce with hot sauce for a spicier edge. For gluten-free, just make sure your Worcestershire or soy-based ingredients in the sauce are certified. For a vegan version, swap wings for cauliflower florets and use maple syrup in place of honey, the baking hacks still apply.

